Blowdry 101: An Easy Guide to a Killer Blowout
Here’s a quick guide to getting a killer blowout with the least amount of effort and time.
This works best for medium - long hair, average - thick density and will work on most hair types. I will be doing a tutorial for fine hair and short hair in the upcoming week - so look out for that.
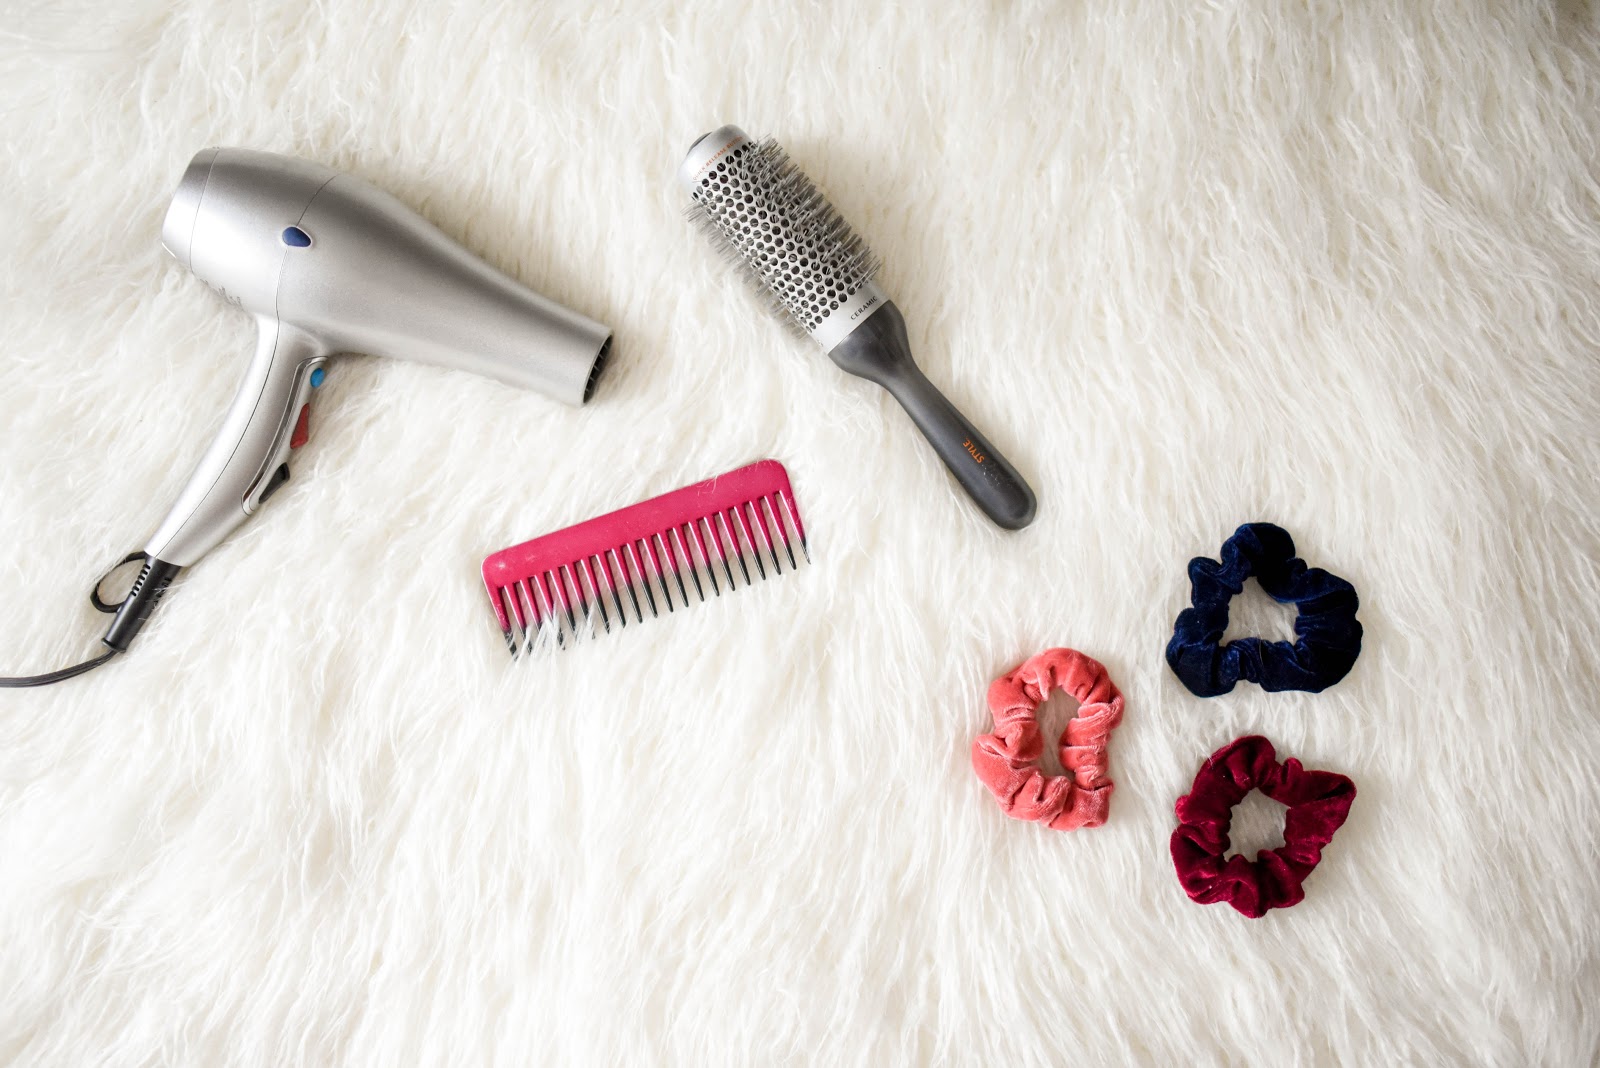
Ingredients:
- Blow Dryer **
- 4 clips or scrunchies
- Heat Protectant
- Styling product
- Comb for parting
- Vented brush (round for wave and body)
- Hairspray (don’t dent your ‘do, Little Lady)
** This can be put into an entirely different article, however, for this blowout, I’d recommend a model with a directional attachment. [The flat-looking piece that connects to the end of your blow-drier.]
Step One:
First things first, protect your hair! You need a good heat protectant. I recommend Pureology Colour Fanatic Hair Treatment Spray. However, any heat protectant that is made for damp hair will work.
You’ll also want to add any type of styling product you prefer. For example: a mousse or cream-based product with a light degree of hold. I like Paul Mitchell Extra-Body Sculpting Foam This will keep your hair cooperative and static-free plus it adds volume.
Once applied to your hair, make sure to comb through so that it’s evenly distributed.
Step Two:

Stylists typically call this a “rough dry” which means you’re going to dry your hair until it’s ALMOST dry (about 90%.)
(Hint: Try and focus on keeping your dryer pointed down your hair, as opposed to up which may cause frizz. Those with super curly or kinky curls can use a dryer with a comb attachment for this step, which will help to stretch curls with a bit more control.)
Step Three: Section

After your hair is mostly dry, you can section it into four. Hairfinder.com provides a great visual of a 4 section parting Here.
Step Four: Weapon of Choice
You have TONS of options for brushes. Different brushes will give you different effects. For our quick styled dry, I recommend a round brush or vent brush. You can also check out this list from Byride, which briefly explains a few different types of brushes.
Step Five: Dry the "Top"

Starting in the back pull down a parting about the width of the brush you’re using. You’ll want to put your brush underneath this parting of the hair and your dryer will be pointing down on top of the hair. Using the directional attachment try to keep the dryer a safe distance, so as not to burn the hair.
Use a pulling motion all the way from the root of the hair to the ends. You can twirl your brush to start forming a loose beach wave.
Step Six: Dry Underneath
Now you will take that same parting and instead of re-drying in the same manner over and over, you’ll now put the brush on top of the hair and the dryer underneath the hair and blowing underneath all the way to the ends, rolling the brush as you go.
(Stylist Hint: ** If you want some wave in your hair, you’re really going to want to use a round brush. The bigger the brush the less wave you will get. As you come to the ends of the hair, you’ll want to start spinning your brush in your hand, this will create the wave you’re looking for.)
Essentially, you’re drying the top of the parting, and underneath that same parting of the hair. In this way, you’re sure to get the hair 100% dry. Do not move on to the next section until the hair is completely dry.
(Hint: Leaving any dampness in the hair will result in either greasy looking locks or major frizz problems.)
Step Seven: Complete Drying

Do this for all 4 sections until the whole head is completed.
Step Eight: Finishing
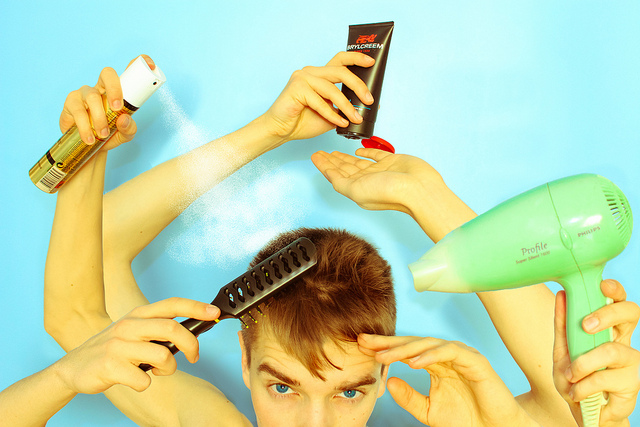
Once finished, spray with hairspray (liberally) I l like to use Sebastian's Shaper Plus and let hair cool before running your fingers or a brush through it.
** (If your hair never holds a wave, spray again with hairspray after the initial tussle.)
And guess what? That’s it.
Phew. It’s hot, go stand in front of the freezer for a bit. 😉
